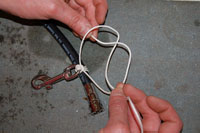
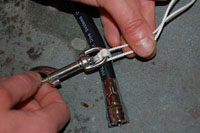
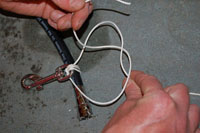
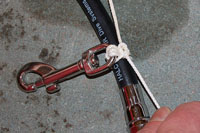
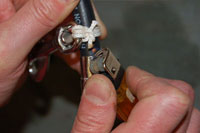
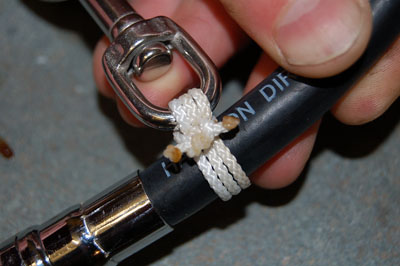
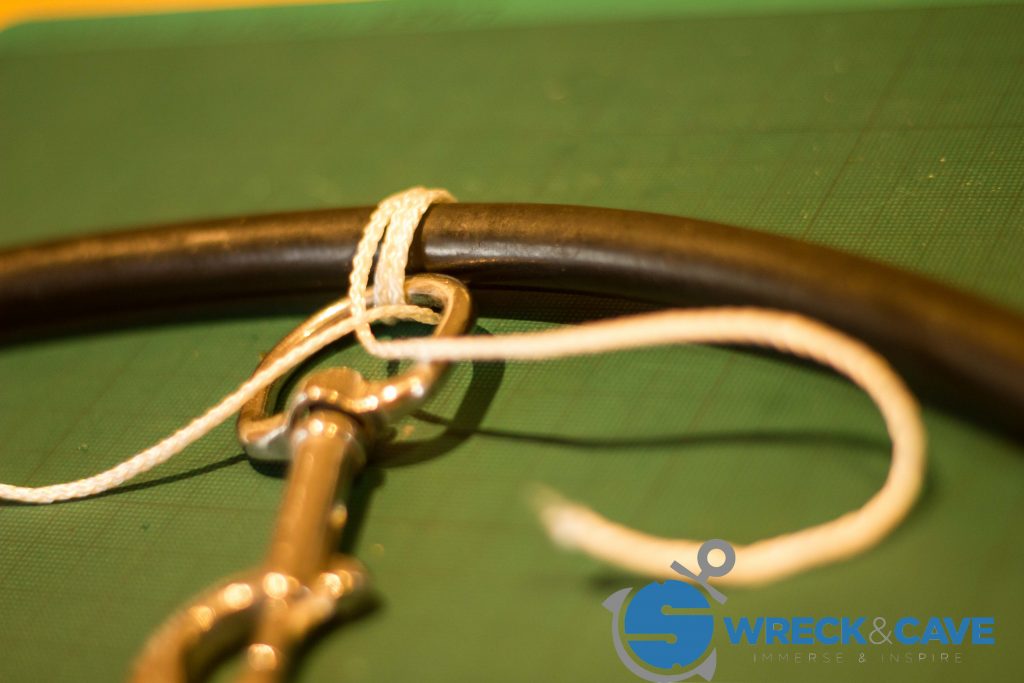
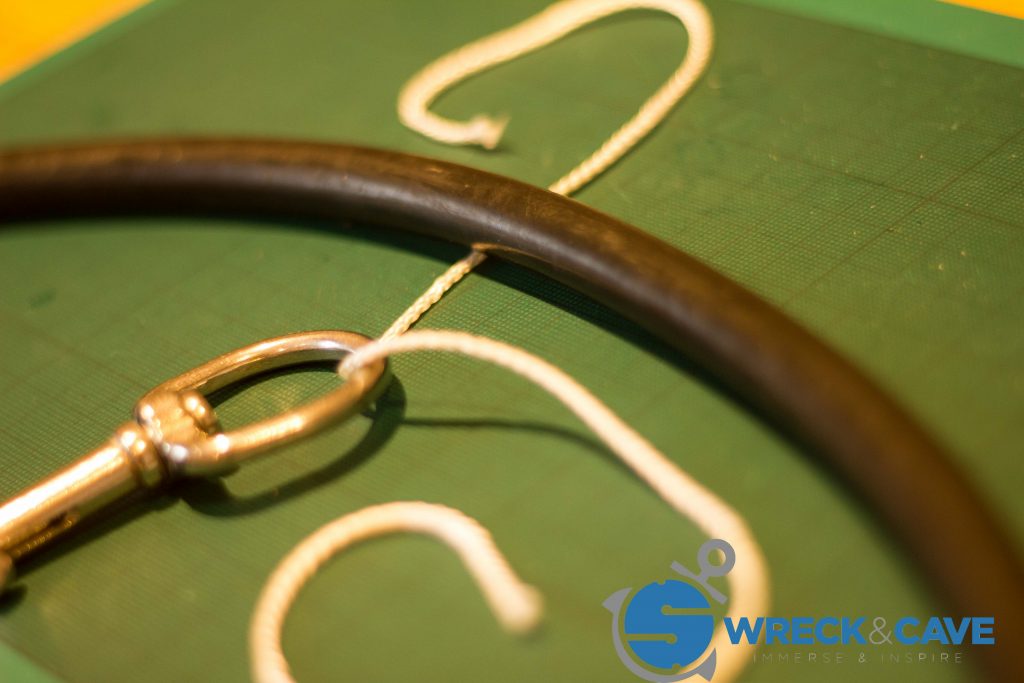
Skip to content
Back Home

[immerse and inspire]

[immerse and inspire]

  • Welcome!
    • About
      • Who is Rich Walker
    • Calendar
    • Wreck and Cave Privacy Policy
  • Education
    • GUE Course Schedule at Wreck and Cave
    • Diving Equipment Help – Get the Right Gear for You
    • Learn to Dive
      • Recreational Diver level 1
      • Recreational Diver level 3
    • Already a diver?
      • First Saturdays
      • GUE Primer
      • GUE Doubles Primer – Proper twinset set-up
      • GUE Fundamentals
      • Fundamentals FAQ
      • GUE Documentation Diver
      • GUE DPV 1
    • GUE Technical Dive Training
      • GUE Tech 1 – Get Started with Tech Diving
      • GUE Tech 1 FAQ
      • GUE Tech 2 – Advanced level deep diving
      • GUE CCR – Closed Circuit Rebreather
    • Scuba Coaching days
    • Training Venues
      • Wreck and Cave HQ
      • Vobster Quay
      • Capernwray
      • Krnica Dive
      • Portofino Divers
    • Articles
      • Balanced equipment – what does it mean?
      • Streamlined Equipment
      • Dry Suit Inflation System – 5 Steps to Setting Up Yours
      • Keeping Warm in Cold Water
      • How to tie the perfect bolt snap
      • Decompression Stage Cylinder – Using one Properly
  • Equipment
  • Experiences
    • Scapa Battleships 14th-19th Sept 2025
    • Norway – Narvik
    • Baltic Wrecks
    • Sardinia – Cala Gonone
  • Dive gear servicing
  • Contact

Reef knot second part

Published February 12, 2014 at dimensions 200 × 133 in How to tie the perfect bolt snap.

← Previous Next →
reef knot 2
https://www.wreckandcave.co.uk/wp-content/uploads/2014/02/boltsnap1.jpg https://www.wreckandcave.co.uk/wp-content/uploads/2014/02/boltsnap4.jpg https://www.wreckandcave.co.uk/wp-content/uploads/2014/02/boltsnap5.jpg https://www.wreckandcave.co.uk/wp-content/uploads/2014/02/boltsnap6.jpg https://www.wreckandcave.co.uk/wp-content/uploads/2014/02/boltsnap7.jpg https://www.wreckandcave.co.uk/wp-content/uploads/2014/02/boltsnap9.jpg https://www.wreckandcave.co.uk/wp-content/uploads/2014/02/boltsnap10.jpg https://www.wreckandcave.co.uk/wp-content/uploads/2014/02/boltsnap11.jpg https://www.wreckandcave.co.uk/wp-content/uploads/2014/02/boltsnap13.jpg https://www.wreckandcave.co.uk/wp-content/uploads/2019/09/boltsnaps-2-1024x683.jpg https://www.wreckandcave.co.uk/wp-content/uploads/2019/09/boltsnaps-1-1024x683.jpg

Tie the second half of the reef knot, keeping the tension on the knot


· © 2025 Wreck and Cave · Powered by · Designed with the Customizr theme ·

We use cookies to ensure that we give you the best experience on our website. If you continue to use this site we will assume that you are happy with it.